

Showing posts with label Pinterest. Show all posts
Showing posts with label Pinterest. Show all posts
Wednesday, November 20, 2013
Peppered Beef Brisket in Beer
This recipe is from the cookbook Southern Living Easy Weeknight Favorites. I made it as listed, except I reduced the meat in half (I left the liquid the same to ensure it wouldn't dry out) I cooked it for 8.5 hours and it was so tender I had to pull it apaprt rather than cut it. I also used some of the drippings to mix with my flour instead of water. Prep time 10 minutes; Slow Cook 4 to 12 hours 1 large onion, sliced and separated into rings 1 four pound beef brisket; visible fat trimmed 3/4 teaspoon pepper 3/4 cup beer 1/2 cup chili sauce 3 tablespoons brown sugar 2 cloves garlic, crushed 3 tablespoons all purpose flour 3 tablespoons water Place onion rings in a 4-quart slow cooker. Sprinkle brisket with pepper. Place over onion rings in slow cooker, cutting in half if necessary to fit. Combine beer and next 3 ingredients and pour over brisket. Cover and cook on HIGH for 4 to 6 hours or LOW for 8 to 12 hours. Remove brisket to a serving platter, reserving juices in slow cooker. Combine water and flour, stirring well and slowly whisk into juices in slow cooker. Cook gravy uncovered on HIGH 5 minutes or until thickened, stirring often. Serve with brisket. Serves 10 
Wednesday, August 8, 2012
Slow Cooked Barbecue Country Style Ribs
In an attempt to make budget friendly, time friendly and variety filled menu plans, I am always on the lookout for new recipes and easy ways to get supper on the table.
I found the original recipe online on a southern food website and tweaked it a little to suit my tastes better and it was DELISH! I used country style ribs from Aldi's that were about $5 for 2 pounds of meat (so I halved the meat, but only back off the liquid a little just to be sure it didn't get dry), but the original recipe called for 3 to 4 pounds of boneless country style ribs,so I will give you that recipe in case you are cooking for more than two people.
3 to 4 pounds boneless country style ribs
Sprinkling of meat tenderizer (to your preference or you can omit if you like)
1/2 tsp salt
1/4 tsp black pepper
1/4 cup packed brown sugar
2 minced garlic cloves (I used the Pampered Chef garlic press for mine)
1 large onion, thinly sliced
1/2 cup apple juice
1 bottle barbecue sauce (16 to 18 oz of your favorite) I used a honey flavored for mine
Grease 5 to 6 quart crockpot with cooking spray. Wash pork and trim excess fat and dry with paper towels. Put sliced onions in the bottom of the slow cooker. Sprinkle tenderizer, salt and pepper on each piece of pork and place in crockpot on top of onions. Sprinkle pork with half of brown sugar and minced garlic, flip and sprinkle other half of sugar and garlic on other side, making sure each piece is coated. Pour apple juice evenly over meat. Cover and cook on LOW for 7 hours and check (original recipe called for 8 to 9 hours, but I found this to be too long). When meat is almost cooked through, drain liquid and reserve for gravy if you wish. Pour barbecue sauce over top of meat and onions and stir carefully to coat. Continue to cook for 1 hour or so to infuse the meat and sufficiently coat all pieces.
I made mashed potatoes to go with ours so I used the drippings from the crockpot with flour, salt and pepper and a splash of water and about a tablespoon more of apple juice just for something different and it was very, very yummy!
Pictures of crockpot food are challenging, but I promise this dish was worth making again and RC loved it! I had enough for our meal last night and 2 lunch meals for the next day.
 |
| Crockpot Barbecue Country Style Ribs |
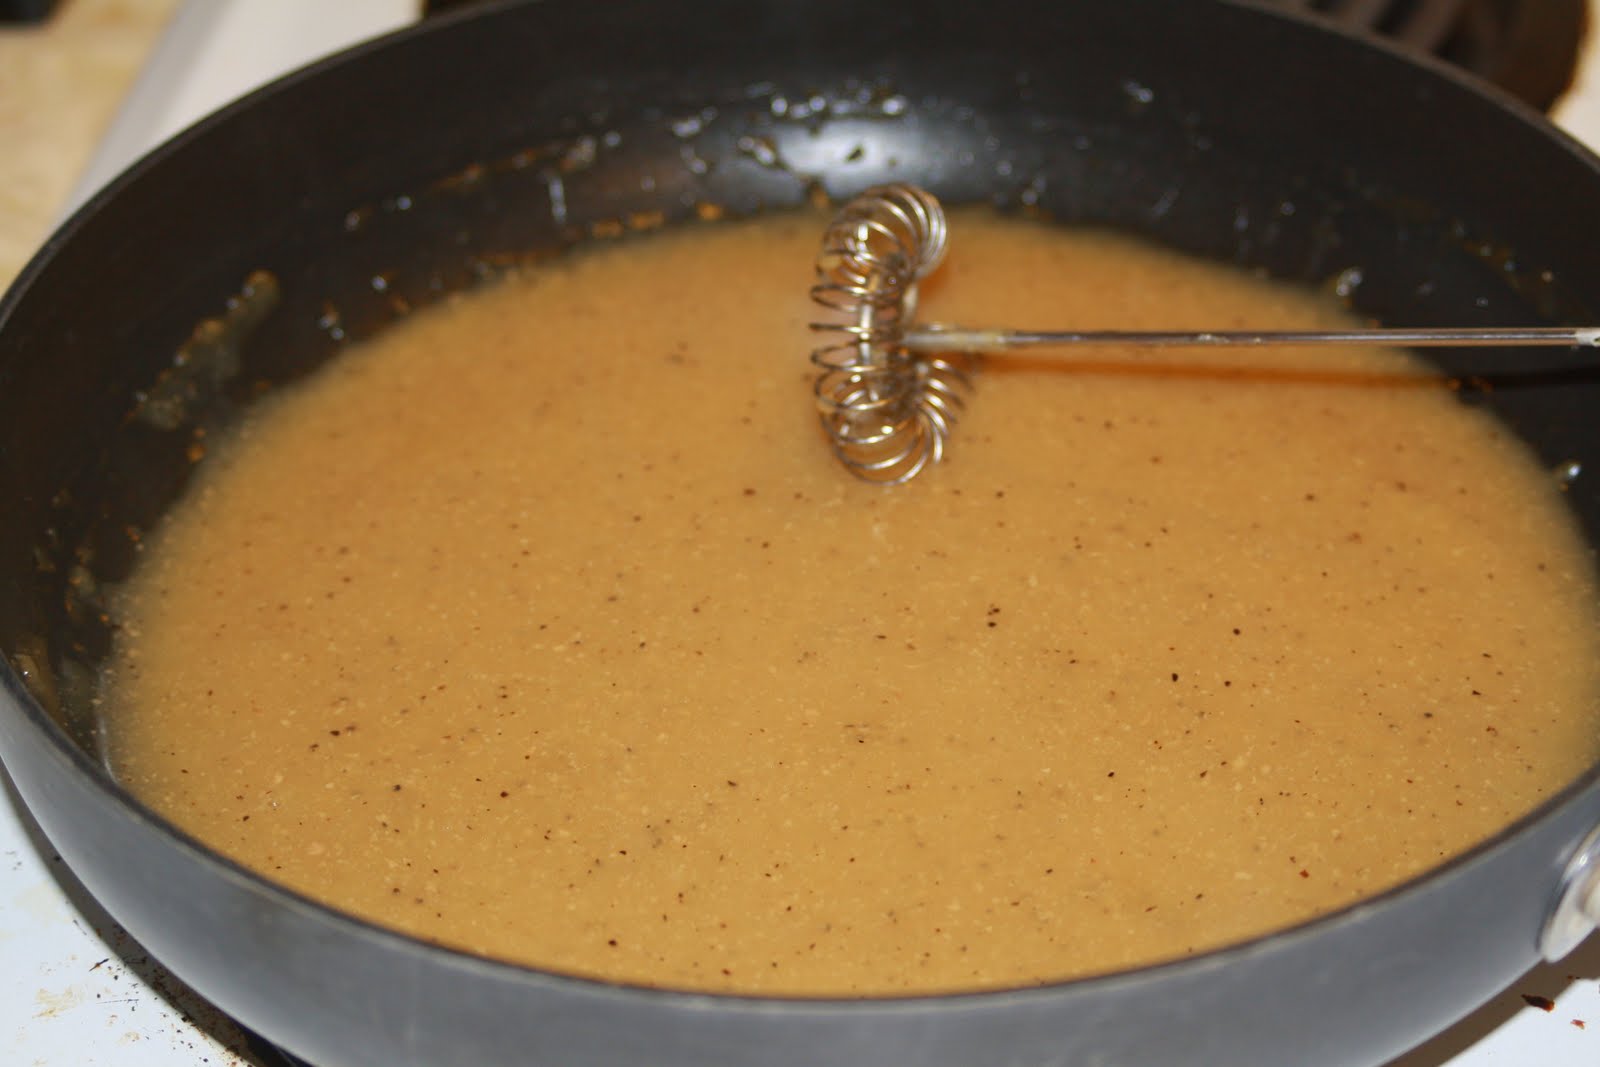 |
| Gravy made with juices poured off after cooking meat |
Friday, August 3, 2012
Photo Card Birthday Invite
Photo card invites are pretty popular these days, but they do require lead time to order and be delivered and can sometimes be pretty costly...being on a budget makes it necessary to evaluate how to cut spending on birthday party preparation (so you have more money to spend on cupcakes of course..HA!) and making your own invites doesn't have to be hard!
I made this super cute one with a selection of pictures I took of the birthday girl dressed up for her tea party and made the pictures into a collage using the free Google Picasa software...super easy to do! I took advantage of 10 cent 4x6 prints from CVS and printed 60 prints for $6 and tax. Then I mounted each picture on a 4.5 x 6.5 piece of cardstock that I had in my scrapbooking supplies and used a single picture cut to size on the back along with the party wording...This is the end result...I used pastel papers because that will be the theme colors of the party, and I'm showing two different invites so you can see the front and back...I covered the party invite details for privacy reasons, but you would put your where, when, etc information there. I think they are super cute and they took me about 1.5 hours to cut, mount and put the invites in envelopes. All for a little over $6 for 30 invitations...of course if you have to buy paper and adhesive it would cost a few more bucks, but still very affordable, personalized and a great keepsake!

I made this super cute one with a selection of pictures I took of the birthday girl dressed up for her tea party and made the pictures into a collage using the free Google Picasa software...super easy to do! I took advantage of 10 cent 4x6 prints from CVS and printed 60 prints for $6 and tax. Then I mounted each picture on a 4.5 x 6.5 piece of cardstock that I had in my scrapbooking supplies and used a single picture cut to size on the back along with the party wording...This is the end result...I used pastel papers because that will be the theme colors of the party, and I'm showing two different invites so you can see the front and back...I covered the party invite details for privacy reasons, but you would put your where, when, etc information there. I think they are super cute and they took me about 1.5 hours to cut, mount and put the invites in envelopes. All for a little over $6 for 30 invitations...of course if you have to buy paper and adhesive it would cost a few more bucks, but still very affordable, personalized and a great keepsake!

Monday, February 20, 2012
Lego Party for Peyton
Peyton turned 7 this year...hard to believe it's been that long since he was that chubby newborn! He picked a Lego theme and my sister, with her new found obsession with Pinterest, helped Peyton's parents throw a super cute party!!! Here are some of the ideas she used and some she came up with! Enjoy!
 |
| Duplo blocks in canister |
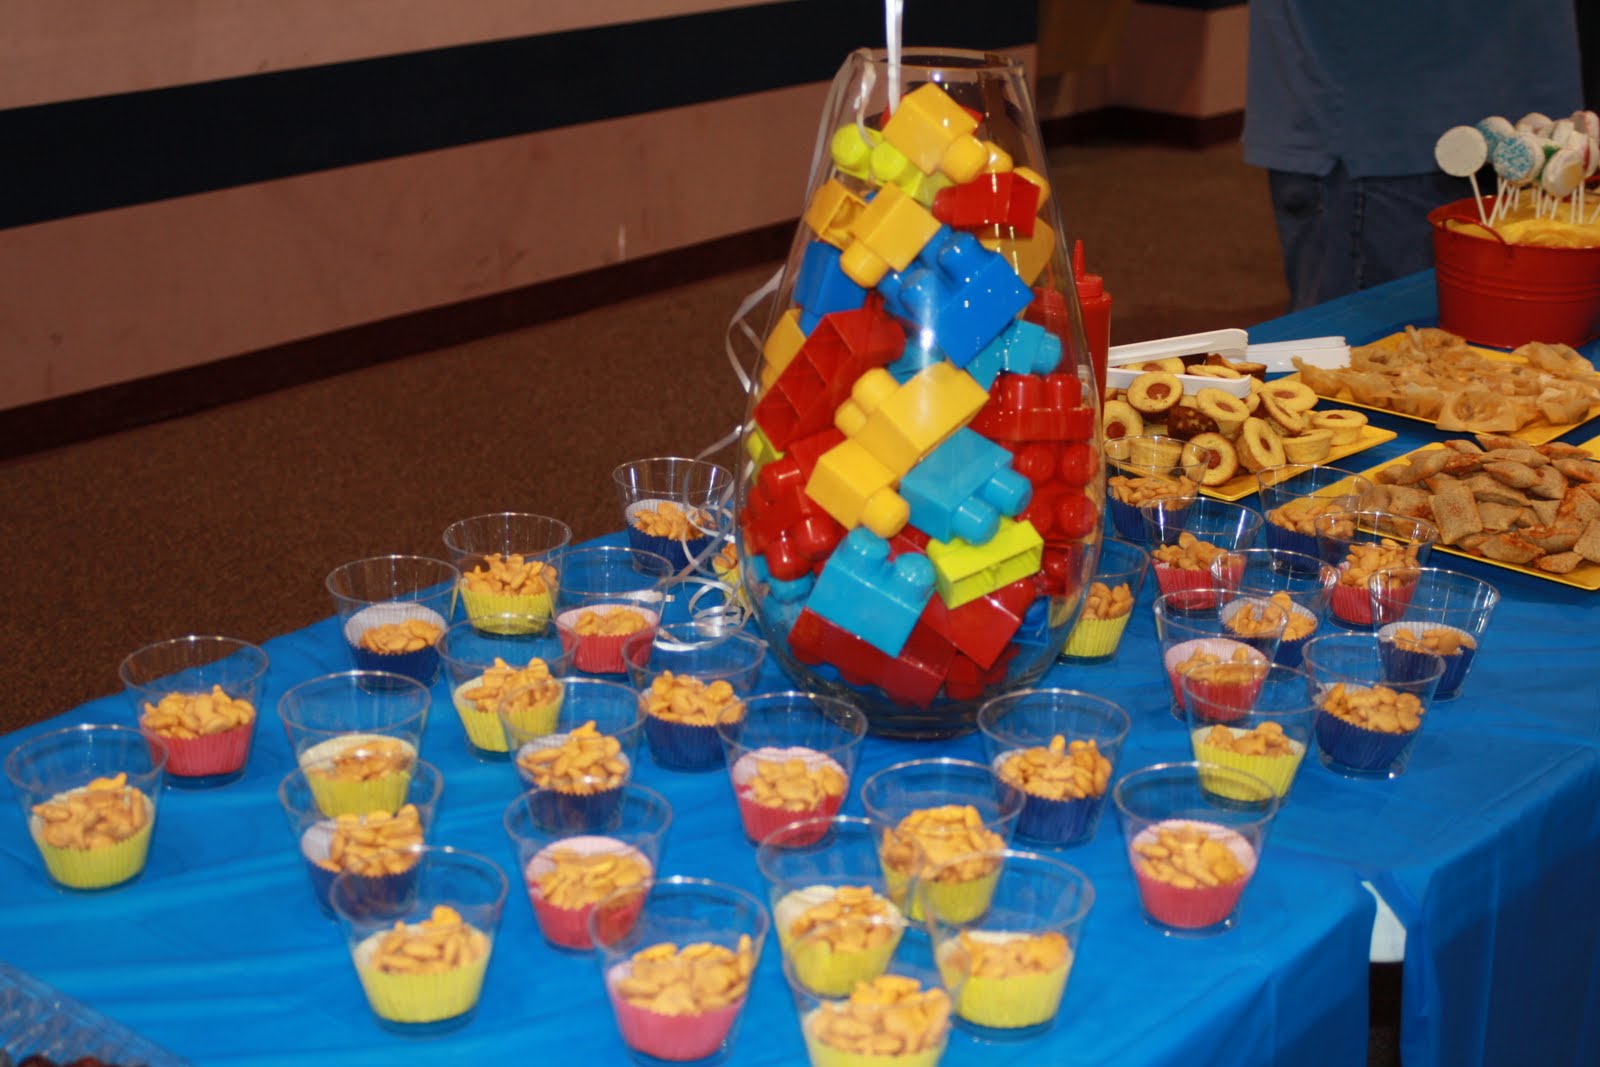 |
| Table setup for party |
 |
| Cupcake liner in punch cups filled with goldfish crackers |
 |
| Rice Krispie treats on a stick with one side coated with chocolate! |
 |
| Fun way to serve cheese balls |
 |
| Lego cake with 13x9 pan cake and 6 cupcakes |
 |
| White chocolate dipped Oreos on a stick |
 |
| Lego cupcake tower |
 |
| Cupcakes with real Lego decorations |
 |
| Lego colored tissue paper in a vase |
 |
| Cupcake tower |
 |
| Cupcakes displayed on cake pedestal made from dollar store plate and candlestick...too cute! |
 |
| Oreos on stick displayed in tin bucket with foam and tissue paper |
 |
| Rice Krispie squares in tin bucket with foam and tissue paper |
 |
| Another dollar store plate and candlestick display |
 |
| Closeup of Lego cupcakes |
 |
| Party favors - Candy building blocks in plastic baggies - super cute! |
Peanutty Chocolate Banana Bread
My first contribution to Pinterest...this bread is very yummy, not too heavy or sweet and a great breakfast bread or snack! I found this recipe in an old Pampered Chef cookbook from way back and I used bananas that I had previously sealed with the Food Saver and frozen/thawed out and they worked perfectly! (great way to salvage bananas that have gotten too ripe, but you don't have time to cook anything with them right away)
 2 cups all purpose flour
1 cup sugar
1 tablespoon baking powder
1/2 teaspoon salt
1 cup mashed ripe bananas (about 2 medium)
1/3 cup milk
1/3 cup peanut butter
3 tablespoons vegetable oil
1 egg
1 cup milk chocolate morsels, divided
1/3 cup peanuts, chopped
Preheat oven to 350 degrees. Spray bottom only of of loaf pan with nonstick spray. Combine flour, sugar, baking soda and salt. Add bananas, milk, peanut butter, oil and egg; stir just until dry ingredients are moistened. Stir in 3/4 cup of the milk chocolate morsels. Spoon batter into pan. Coarsely chop peanut and sprinkle peanuts and remaining 1/4 cup milk chocolate morsels evenly over batter. Bake 60 minutes or until toothpick inserted in center comes out clean. Cool in pan 10 minutes. Loosen sides of loaf from pan and remove to cooling rack to cool completely. Cut into slices with bread knife for best results.
Subscribe to:
Posts (Atom)